How to Blow Dry Your Hair at Home: Easy Steps for Salon-Worthy Results
Blow-drying your hair is one of the easiest ways to achieve a polished, salon-quality look at home. Whether you’re going for sleek and straight, bouncy and voluminous, or something in between, mastering the art of blow-drying can transform your styling routine. In this guide, we’ll walk you through the steps to perfect your blow-dry technique, plus introduce a game-changing attachment that can make the process even easier.
Why Blow-Drying Matters
Blow-drying isn’t just about drying your hair—it’s about styling it with intention. The right blow-dry can smooth frizz, add volume, and create a foundation for longer-lasting hairstyles. Plus, when done correctly, it minimizes damage and keeps your hair looking healthy and shiny.
What You’ll Need
Before you start, gather these essentials:
-
Hair Dryer: A good-quality dryer with adjustable heat and speed settings is key.
-
Heat Protectant Spray: Protects your hair from heat damage while adding shine.
-
Round Brush or Paddle Brush: Round brushes are great for volume and curls, while paddle brushes work best for straightening.
-
Sectioning Clips: Keeps hair organized and manageable while you style.
-
Optional: Finishing Products like serum for shine or hairspray for hold.
Step-by-Step Guide to Blow-Drying Your Hair
Prep Your Hair
Start with freshly washed hair. Gently towel-dry it to remove excess water—your hair should be damp but not dripping wet before you begin blow-drying. Apply a heat protectant spray evenly through your strands to shield them from heat damage.
Section Your Hair
Divide your hair into sections using clips—typically four sections (two on top and two on the bottom) work well. Smaller sections ensure even drying and styling precision.
Choose the Right Settings
Set your dryer to medium heat and low speed if you’re new to blow-drying or have fine/damaged hair. For thicker or coarser hair, medium-to-high heat with medium speed works best. Always finish with the cool shot setting to lock in your style.
Blow-Dry in Sections
-
Start at the Roots: Position the brush under a section of hair near the roots and direct the dryer’s nozzle downward as you pull the brush through to the ends. This smooths the cuticle and reduces frizz.
-
Work in Layers: Begin with the bottom layers of your hair and move upward toward the crown as each section dries.
-
Add Volume: For extra lift at the roots, pull each section upward with your brush as you dry it.
-
Dry Evenly: Focus on drying each section completely before moving on to avoid uneven results.
Lock It In
Once all sections are fully dry, use your dryer’s cool shot button to set your style in place. The cool air helps seal the cuticle for added shine and ensures your look lasts longer.
Pro Tips for a Better Blowout
-
Don’t Over dry: Stop drying as soon as each section is fully dry—over drying can lead to frizz and damage.
-
Use Tension: Keep sections taut with your brush for smoother results.
-
Experiment with Brushes: Use a round brush for curls or volume and a paddle brush for sleekness.
-
Practice Makes Perfect: The more you practice, the faster and easier blow-drying will become!
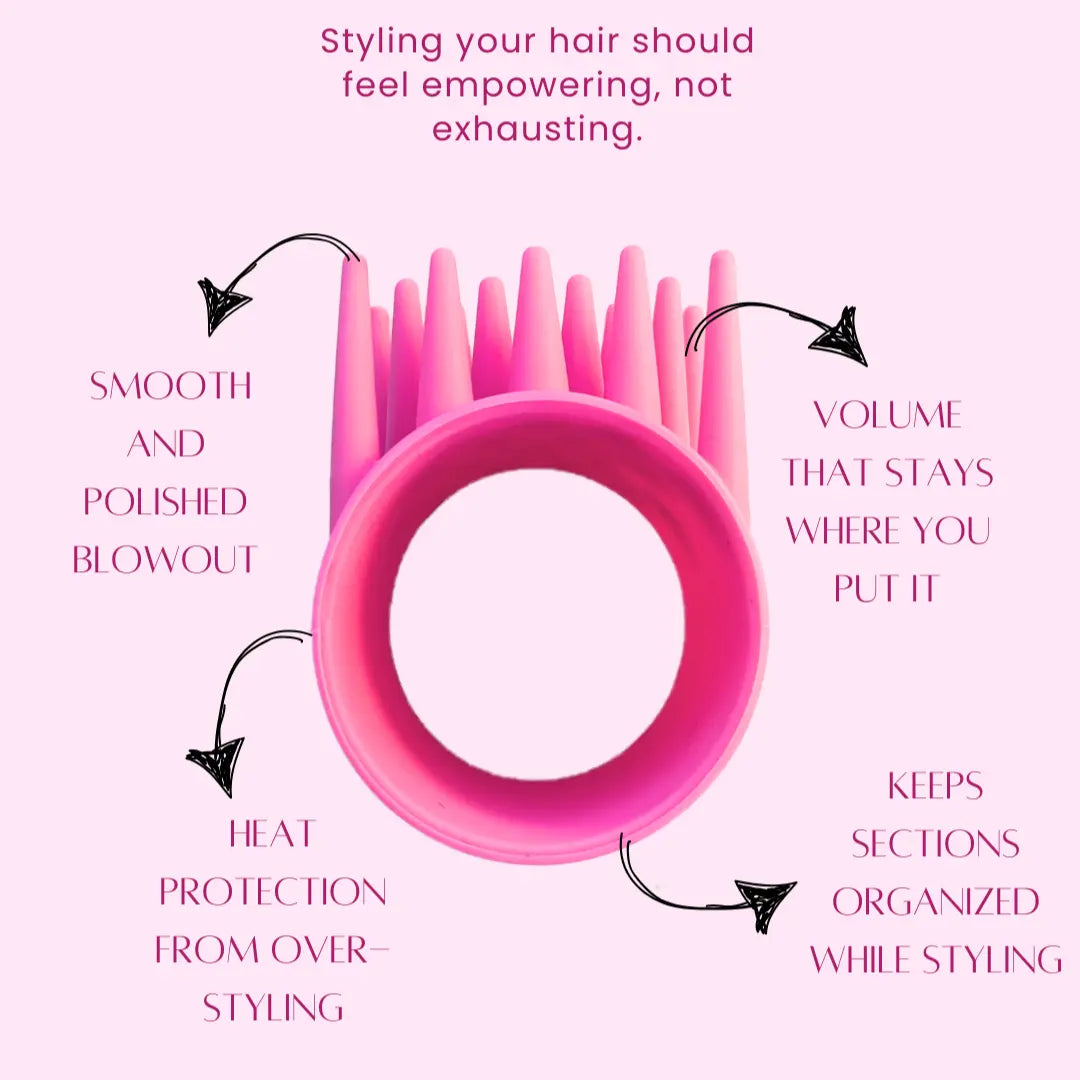
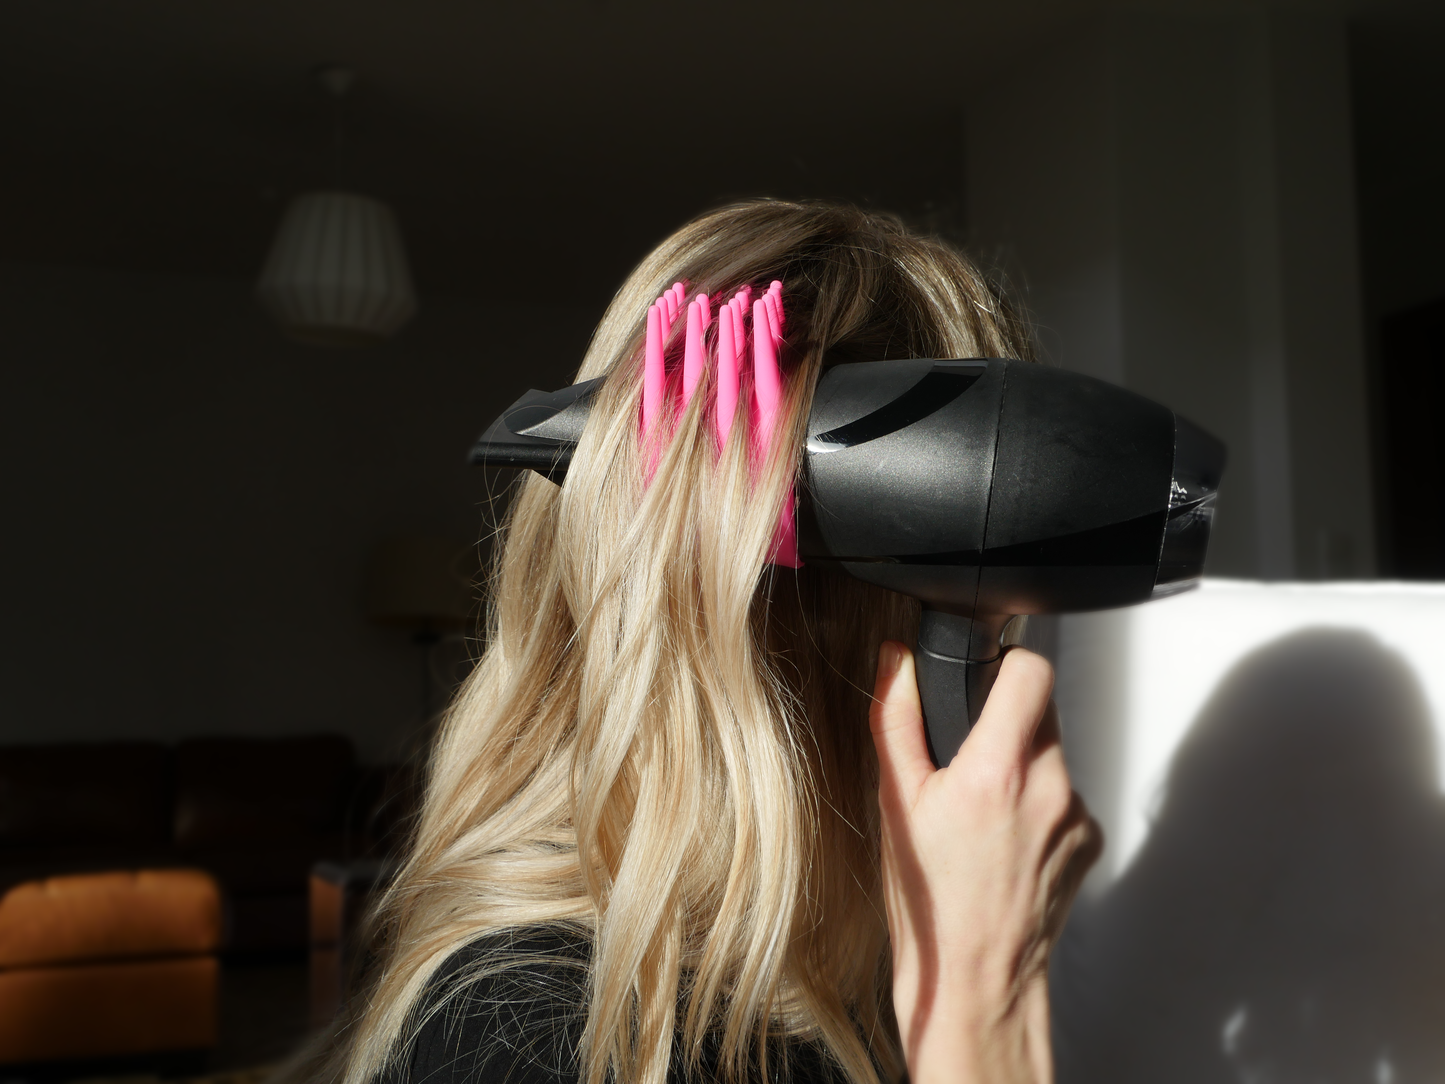
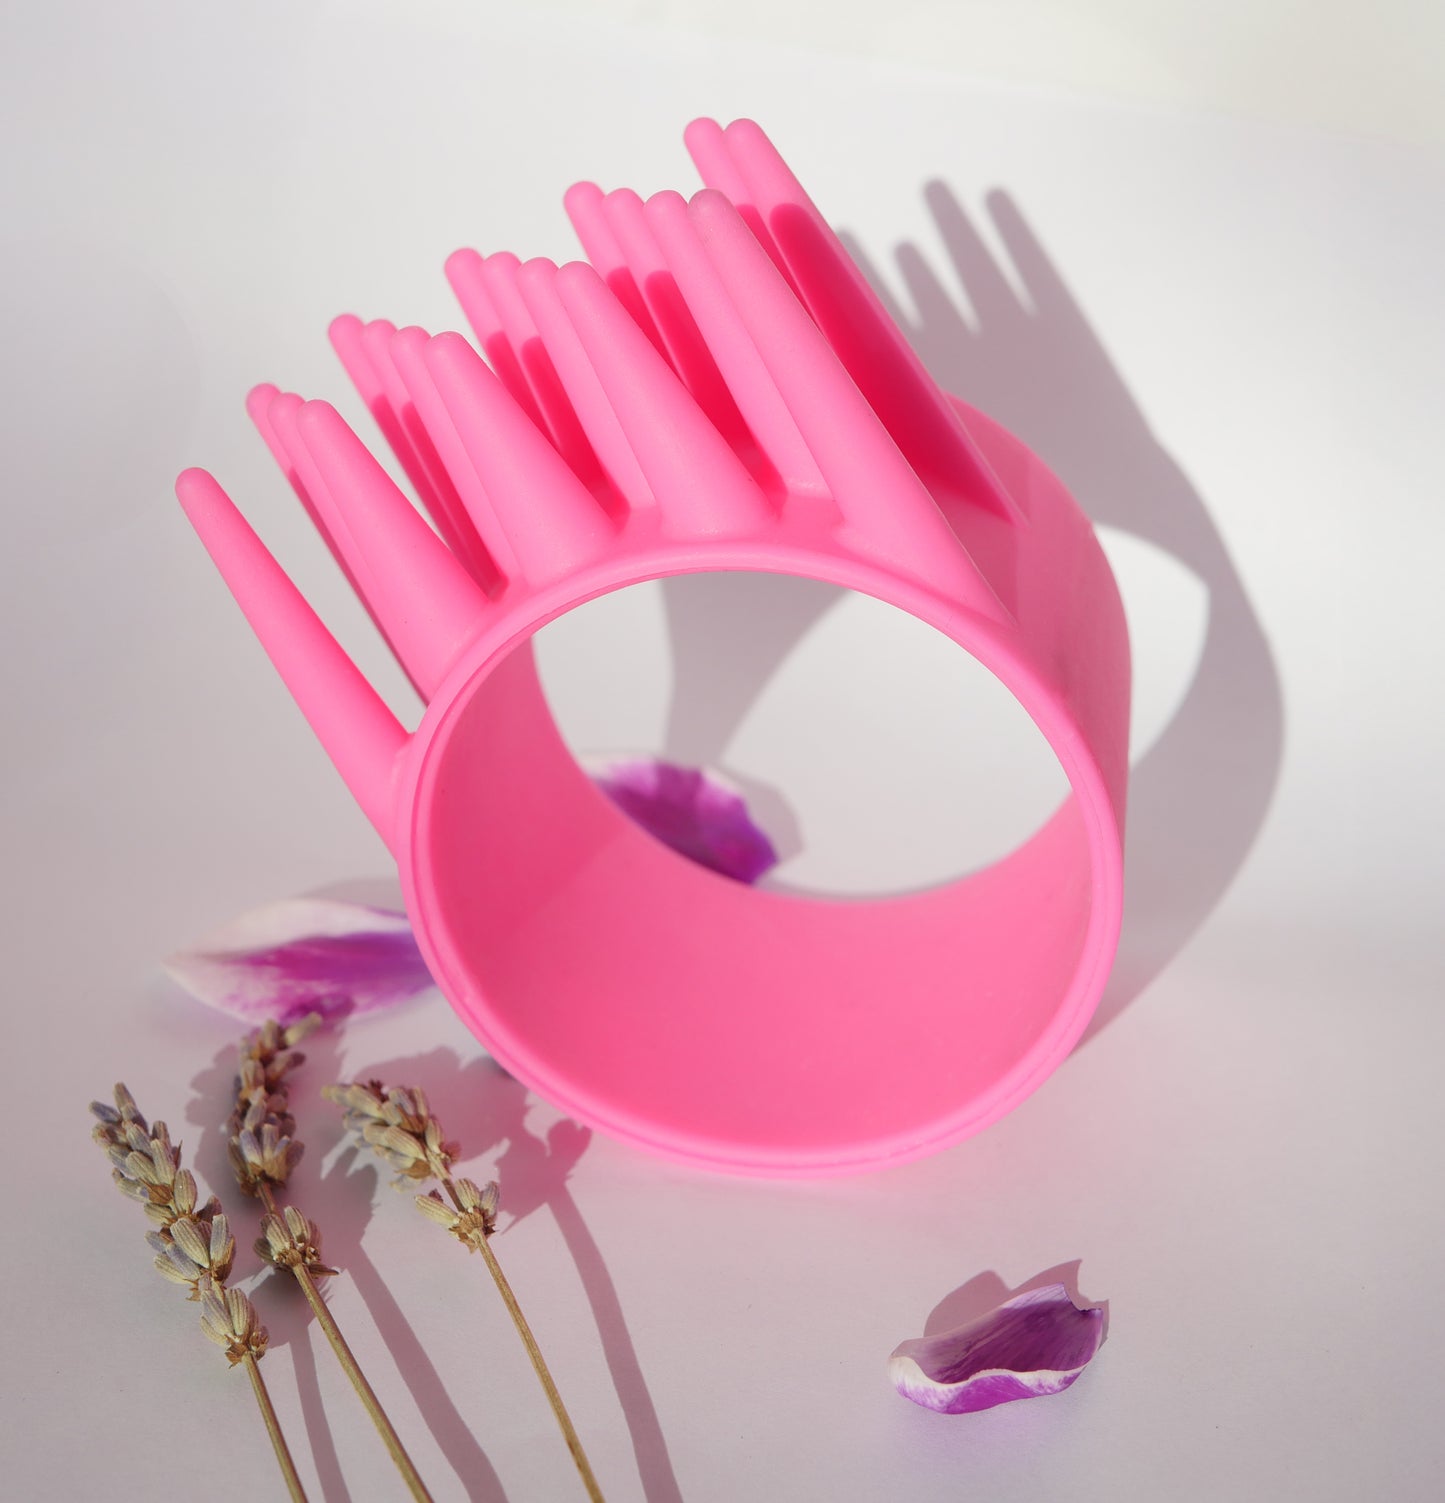
Take Your Blow-Dry to the Next Level with DrySpike

If you’ve ever struggled to hold tension on a section of hair while juggling a brush and dryer, meet DrySpike—the revolutionary attachment that acts like an extra hand during styling! DrySpike holds your hair securely against the barrel of your dryer, making it easier to keep sections taut while transitioning your brush back to the roots for another pass.
Here’s why DrySpike is a must-have tool:
-
Maintains consistent tension for smoother results.
-
Reduces styling time by simplifying transitions between brush strokes.
-
Works seamlessly with any round or paddle brush for versatile styling options.
Whether you’re perfecting a sleek look or creating bouncy waves, DrySpike makes blow-drying faster, easier, and frustration-free! Check it out at DrySpike.
Wrap-Up
Blow-drying doesn’t have to be complicated! With these simple steps—and tools like DrySpike if you want an extra boost—you can achieve stunning styles that rival any salon visit. So grab your dryer, prep those sections, and get ready to transform your routine into an effortless experience!